 Pin It
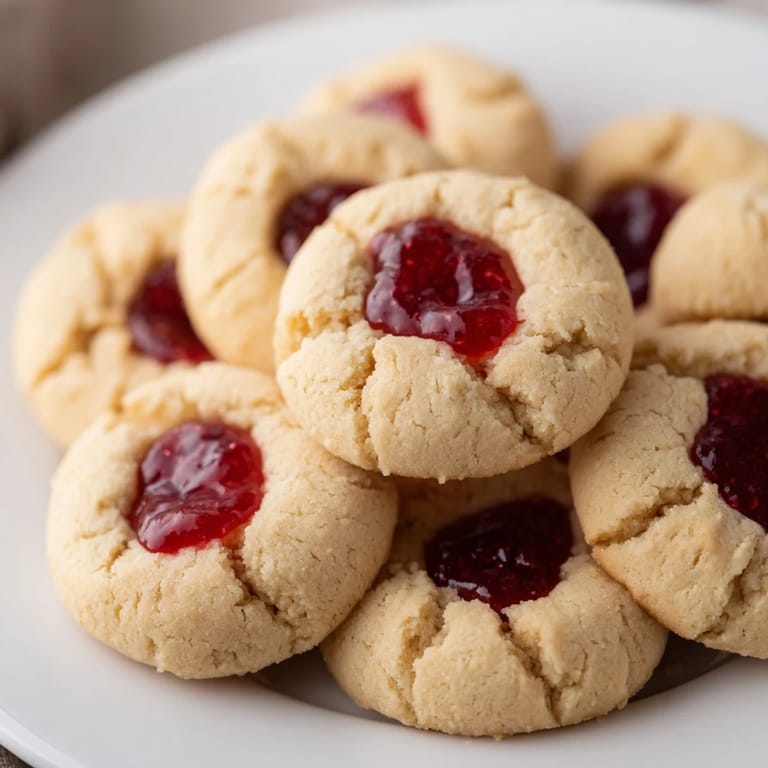
 There's something about the sound of a spoon hitting the bottom of a jam jar that brings me back to my grandmother's kitchen on lazy Sunday afternoons. She'd let me press my thumb into warm cookie dough while she hummed along to the radio, and somehow those simple indentations became the best part of baking together. Thumbprint cookies aren't fancy or complicated, but they taste like someone took the time to think about you while making them. The buttery shortbread melts on your tongue, and then you hit that pocket of sweet jam that's been warmed in the oven until it's almost jammy-candy perfect. Every batch reminds me that the best recipes are the ones that let you slow down.
I made these for a friend's book club once, and someone asked for the recipe before they'd even finished eating the first one. That's when I realized these aren't just cookies you nibble politely—they're the ones people come back to the plate for twice. The jam centers catch the light when they're fresh from the cooling rack, and there's something about their size that makes you feel like you can eat three without guilt.
Ingredients
- Unsalted butter, softened: The foundation of everything good here; if it's too cold, you'll fight it, so leave it on the counter for 20 minutes and let it get squishy.
- Granulated sugar: Creams into the butter to create that tender crumb; don't skip this step even though you're tempted.
- Egg yolks: Just the yolks keep things rich and sandy-textured, nothing watery or tough.
- Vanilla extract: A teaspoon is enough to make people ask if there's something they can't quite name in these.
- All-purpose flour: Measure by spooning into your cup and leveling off so you don't pack it down and end up with dense cookies.
- Fine sea salt: A tiny pinch that makes the butter taste more like butter and the jam more like jam.
- Fruit jam or preserves: Raspberry is classic, but I've used apricot when I was feeling fancy and strawberry when that's what I had; they all work beautifully.
Tired of Takeout? 🥡
Get 10 meals you can make faster than delivery arrives. Seriously.
One email. No spam. Unsubscribe anytime.
Instructions
- Get your workspace ready:
- Preheat the oven to 350°F and line your baking sheets with parchment paper so the cookies release easily and your pan stays clean. This takes two minutes and saves you frustration later.
- Cream the butter and sugar:
- Beat them together in a large bowl until they look pale and fluffy, about 2 to 3 minutes of real work. You'll feel the texture change under the mixer, and that's when you know it's right.
- Bring in the yolks and vanilla:
- Beat these in until everything looks homogeneous and smooth, no streaks of butter or visible yolk. This takes another minute or two and means your final dough will be silky.
- Add the flour and salt:
- Mix gently until the dough just comes together; don't overwork it or these cookies will be tough instead of tender. You want to see no dry flour streaks, but stop the moment the dough looks like dough.
- Roll into balls:
- Scoop out pieces about the size of a large marble and roll them between your palms into 1-inch spheres. If your hands get warm and sticky, rinse them in cool water and keep going.
- Make the thumbprints:
- Place the balls on your baking sheets 2 inches apart, then press your thumb or the back of a small spoon into the center of each one. Don't press all the way through; you want a little cavity that holds the jam, not a tunnel to the other side.
- Fill with jam:
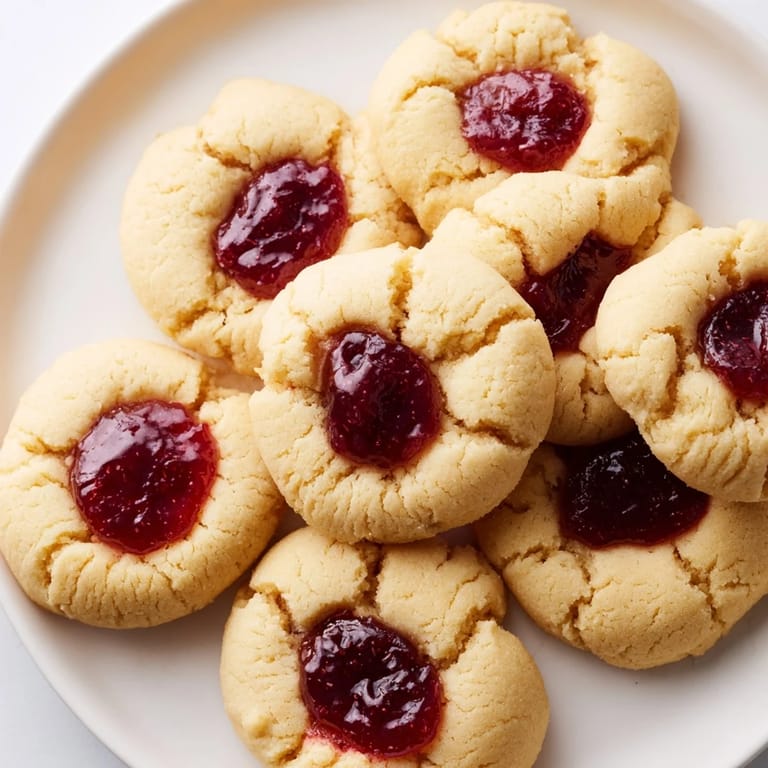
- Drop about 1/2 teaspoon of jam into each indentation; the jam will spread slightly as it bakes, so don't overfill. Seeing those little pockets of color makes you feel like a real baker.
- Bake and watch:
- Slide them into the oven for 12 to 15 minutes, until the edges turn golden but the centers still look pale and soft. They'll firm up as they cool, so don't overbake or you'll lose that buttery tenderness.
- Cool and transfer:
- Let them rest on the baking sheet for 5 minutes so they firm up enough to move, then slide them onto a wire rack to cool all the way down. Patience here means perfect cookies that don't crack.
 Pin It
 I remember my mom taking a plate of these to the neighbors when they moved in, and how that small gesture turned into a friendship that lasted years. That's when I understood that these little cookies are about more than butter and jam; they're an invitation to remember someone.
Jam Flavors That Really Sing
Raspberry is the obvious choice and it's obvious for a reason, but don't stop there. Apricot gives you something slightly floral and a little less sweet, which lets the butter shine through more. Strawberry feels fresh and bright, and blackberry adds an almost wine-like depth that sounds fancy but comes straight from your pantry.
Making Them Your Own
Once you've made these once, you'll start imagining variations. A light coating of finely chopped almonds or pistachios rolled onto the dough balls before baking adds crunch and elegance. Some people brush the finished cookies with a thin glaze or dust them with powdered sugar, and honestly, they're beautiful either way.
Storage and Keeping
These cookies keep beautifully in an airtight container at room temperature for up to a week, though they rarely last that long in my house. They're sturdy enough to pack for lunch boxes or wrap as gifts, and they actually taste even better the next day when the flavors have had time to settle.
- Cool them completely before storing or they'll steam and get soft.
- Layer them between parchment paper if you're stacking them so they don't stick together.
- If they do get a little soft, pop the container open to the air for an hour and they'll crisp up again.
 Pin It
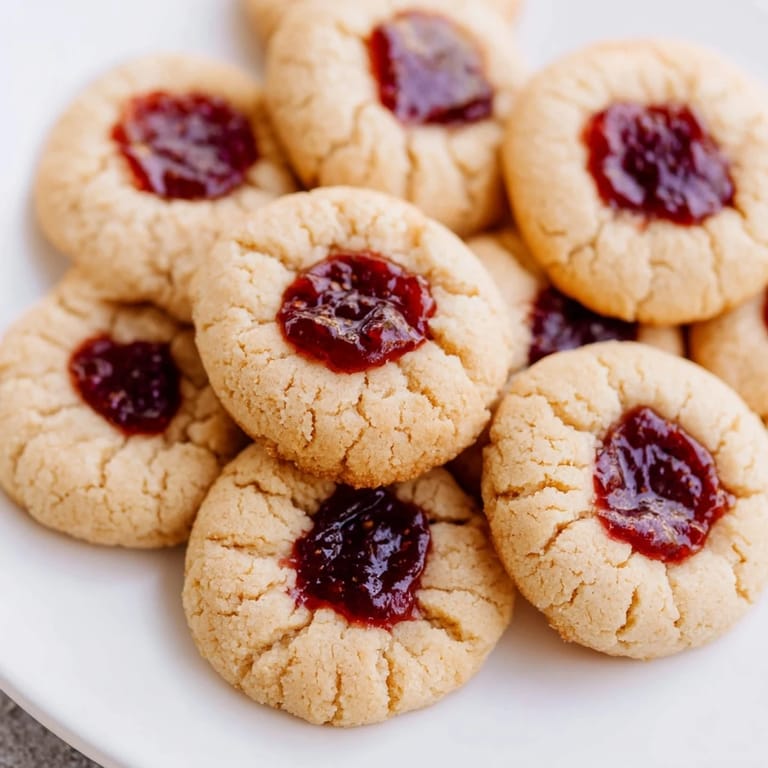
 These cookies are proof that you don't need a long ingredient list or complicated techniques to make something people will remember. Bake a batch and watch how quickly they disappear.
Recipe FAQs
- → What type of jam works best for the filling?
Fruit jams like raspberry, apricot, or strawberry add a sweet, tangy contrast to the buttery shortbread.
- → How can I achieve a tender crumb texture?
Using softened unsalted butter beaten with sugar and gently folding in flour helps create a delicate, tender crumb.
- → Can I store these after baking?
Store in an airtight container at room temperature for up to one week to maintain freshness.
- → Is it possible to add extra flavor or texture?
Rolling dough balls in finely chopped nuts before baking adds crunch and enhances flavor complexity.
- → What’s the ideal baking temperature and time?
Bake at 350°F (175°C) for 12 to 15 minutes until edges turn lightly golden.