 Pin It
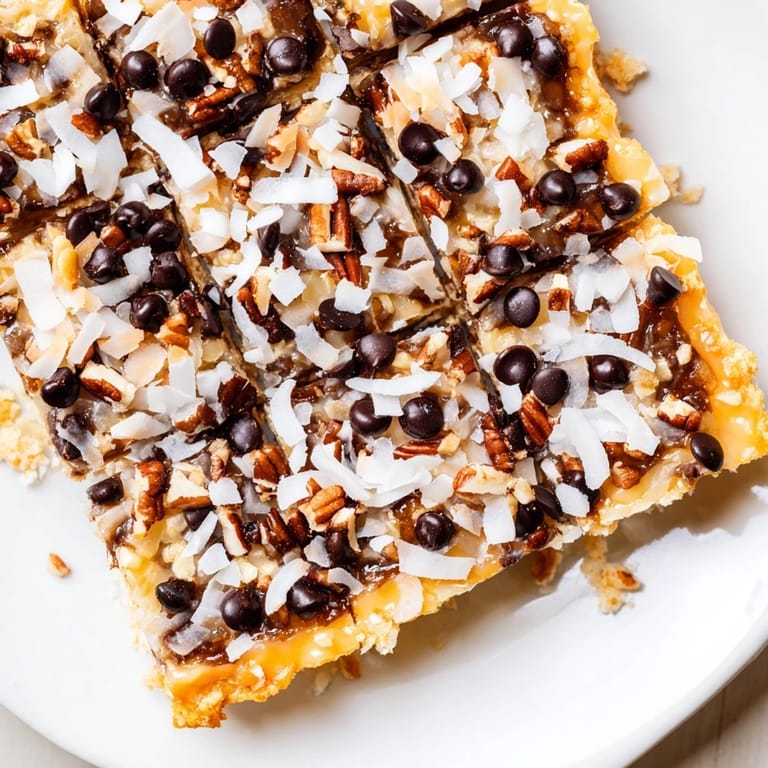
 My neighbor dropped off a pan of these at my door on a Thursday afternoon, no occasion, just because. I took one bite and understood immediately why she'd made the trip—there's something almost magical about the way the layers work together, how the buttery crust gives way to that gooey sweetened condensed milk center, studded with chocolate and coconut and nuts. I called her that evening to ask for the recipe, and she laughed, saying it was her grandmother's secret weapon for every potluck and gathering since the 1970s. Now it's become mine too.
I brought these to a bake sale at my kids' school, tucked into a paper box with a handwritten label. Three hours later, they were completely gone, and I had three parents asking for the recipe before pickup time. One mom admitted she'd eaten two bars herself while sitting in her car—no judgment from me, I'd already done the same thing the night before while rewatching an old movie.
Ingredients
- Graham cracker crumbs: Use about a cup and a half—you want enough to create a sturdy, buttery foundation that doesn't crumble when you layer everything on top.
- Unsalted butter, melted: The melted butter binds everything together and creates that golden, almost shortbread-like texture that makes the crust sing.
- Semi-sweet chocolate chips: These are the backbone of the flavor profile, offering just enough richness without overwhelming everything else.
- Butterscotch chips: Optional but honestly worth it—they add a subtle caramel note that plays beautifully with the chocolate and coconut.
- Sweetened shredded coconut: Don't skip this unless you really don't like coconut; it adds texture and a subtle tropical sweetness that ties the whole thing together.
- Chopped pecans or walnuts: These add crunch and earthiness, grounding all the sweetness with a slightly bitter finish.
- Sweetened condensed milk: This is the secret to the chewy center—it bakes into a gooey, almost toffee-like layer that holds everything together.
Tired of Takeout? 🥡
Get 10 meals you can make faster than delivery arrives. Seriously.
One email. No spam. Unsubscribe anytime.
Instructions
- Prepare your pan and preheat:
- Set your oven to 350°F and line your 9x13-inch pan with parchment paper—this makes cleanup easier and prevents sticking. A cool oven is a patient oven, so give it a few minutes to fully preheat while you gather your ingredients.
- Build the crust:
- Mix your graham cracker crumbs with the melted butter until it looks like wet sand, then press it firmly across the bottom of the pan using the bottom of a measuring cup or your fingertips. You want it compact enough to hold together but not so dense that it feels hard.
- Pour the magic layer:
- Spread the sweetened condensed milk evenly over the crust—this is where the bars get their signature chewy texture. Take your time and use the back of a spatula to push it into the corners and edges.
- Layer with intention:
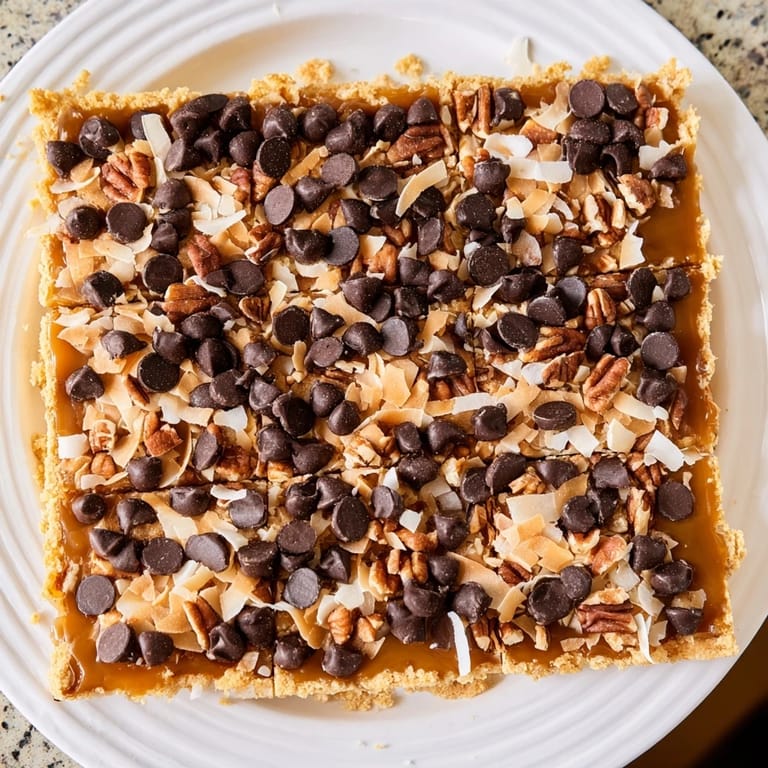
- Scatter the chocolate chips, butterscotch chips, coconut, and nuts in loose, even layers. You don't have to be perfect here; a little randomness actually works in your favor because it means every bite has a slightly different flavor combination.
- Gentle compression:
- Use the back of a spatula to press everything down lightly—just enough that the layers stay together when you cut them, but not so hard that you compress all the air out of them.
- Bake until golden:
- Slide the pan into the oven and bake for 25 to 30 minutes, watching until the edges turn golden brown and the center looks set but still has a slight jiggle to it. That jiggle is your friend; it means the bars will stay chewy inside.
- Cool with patience:
- Let them cool completely in the pan—this takes about an hour, and yes, it's torture, but skipping this step means your bars will fall apart when you cut them. Once they're completely cool, cut them into 16 bars and admire your work.
 Pin It
 My youngest son came home from school a few weeks after I'd started making these regularly and asked if he could bring some to his class potluck. I watched him carefully pack them into a container that morning, and when he came home that afternoon, he was glowing—his teacher had asked for the recipe, and three of his friends wanted to know if I could make them for their birthdays. That's when I realized these weren't just bars; they were a way of showing up for people.
Why These Bars Work So Well
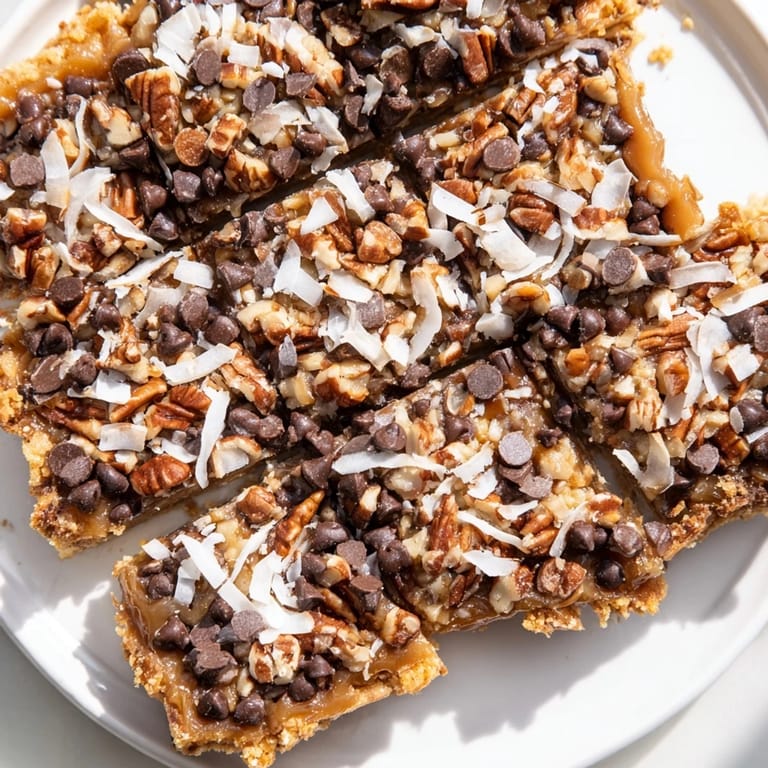
There's something almost scientific about how these layers interact. The sweetened condensed milk seeps down into the buttery crust, creating a semi-set layer that's neither quite solid nor liquid. The chocolate and butterscotch chips soften just enough to stay chewy, while the coconut hydrates slightly and the nuts stay crunchy. Everything works in harmony because they're all baking together at the same temperature and time, rather than requiring separate preparation steps.
Customization Without Compromise
The beauty of magic bars is that they're infinitely adaptable without losing their essential character. I've made versions with white chocolate chips instead of butterscotch, swapped almonds for pecans, and even tried a version with dried cranberries in place of some of the coconut. Each variation worked beautifully because the core formula—buttery crust, sweetened condensed milk, and layered mix-ins—is so fundamentally sound that it forgives experimentation.
Storage and Serving Secrets
These bars actually improve slightly as they sit, with the flavors melding and the texture becoming even more consistent. Store them in an airtight container at room temperature for up to five days, or wrap individual bars in parchment paper and freeze them for up to two months—they thaw quickly and taste almost as good as fresh. Some people love them cold straight from the fridge, which intensifies the chocolate flavor and creates a more fudgy texture.
- For parties or gift-giving, wrap the cooled bars in parchment paper and arrange them in a pretty box to make them feel special and intentional.
- If you're serving these at a potluck, cut them slightly smaller than you think necessary—they're incredibly rich, and people tend to eat more than one.
- Keep the recipe card handy because someone will ask for it, and being prepared to share feels good.
 Pin It
 Magic bars aren't really magic—they're just layers of good ingredients working together exactly the way they should. But there's something deeply satisfying about making something this straightforward that brings genuine joy to everyone who tastes it.
Recipe FAQs
- → What type of nuts can I use in this dessert?
You can use pecans, walnuts, or even almonds depending on your preference or availability.
- → Can I make this treat without butterscotch chips?
Yes, butterscotch chips are optional. White chocolate chips make a great alternative.
- → How do I ensure the crust stays crisp?
Press the graham cracker crumbs firmly into the pan and bake until golden before adding the layers.
- → What is the best way to store these bars?
Store them in an airtight container at room temperature for up to five days to maintain freshness.
- → Can I make these bars gluten-free?
Use gluten-free graham cracker crumbs to adapt this into a gluten-free treat.