 Pin It
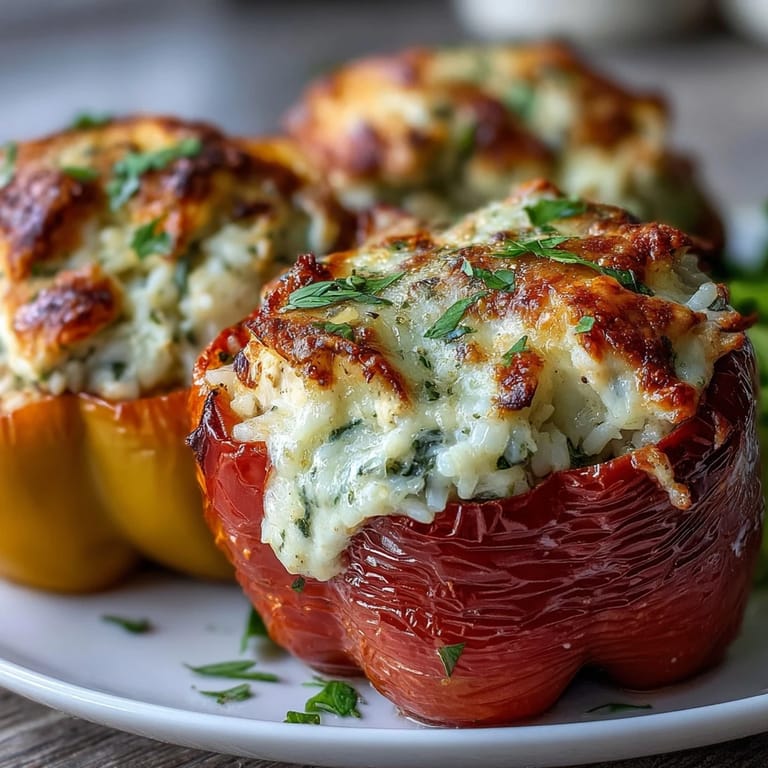
 There's something about watching someone's face light up when they bite into a stuffed pepper that makes the extra effort feel worth it. I discovered this garlic Parmesan version on a random Thursday when I had leftover rotisserie chicken and half a bag of bell peppers staring at me from the produce drawer. What started as a way to use up ingredients turned into the dish I now make whenever I want to feel like I've actually cooked something impressive, without the stress.
I made this for my sister's surprise birthday dinner last spring, and watching her take that first bite while everyone waited in silence was one of those small kitchen victories you remember. She looked genuinely shocked that it came from my kitchen and not from some fancy restaurant, which honestly made my whole week.
Ingredients
- Bell peppers (4 large, any color): Choose peppers that stand upright naturally so they don't tip over in the baking dish, and pick ones with thick walls that won't collapse when they're roasted.
- Yellow onion (1 small, finely diced): The sweetness of onion softened in olive oil creates the flavor foundation that makes people ask for your secret.
- Garlic (2 cloves, minced): Don't skip the step of cooking it in the oil first or it'll taste raw and bitter, which I learned the hard way on attempt number two.
- Cooked chicken breast (2 cups, shredded or diced): Use rotisserie chicken if you want to cut corners without anyone noticing, or poach your own if you're feeling virtuous.
- Cooked white rice (1 cup): Brown rice works too, but white rice binds the filling better and keeps it from getting too dense.
- Heavy cream (1 cup): This is what separates these peppers from the sad, dry versions you might remember from old cookbooks.
- Freshly grated Parmesan cheese (1 cup): Buy the wedge and grate it yourself because the pre-grated stuff has cellulose that prevents it from melting smoothly.
- Shredded mozzarella (1/2 cup): This gets the top all golden and bubbly, and it's the part that makes people reach for seconds.
- Olive oil (2 tablespoons): Use extra virgin if you're feeling fancy, but regular will work just fine.
- Italian seasoning (1 teaspoon): Or mix your own from dried basil, oregano, and thyme if you're that person.
- Salt and black pepper: Taste as you go because every pan of chicken and every bag of rice seasons differently.
- Fresh parsley (1 tablespoon, optional): The green fleck at the end makes it look restaurant-worthy and costs basically nothing.
Tired of Takeout? 🥡
Get 10 meals you can make faster than delivery arrives. Seriously.
One email. No spam. Unsubscribe anytime.
Instructions
- Heat your oven and prep your vessel:
- Turn the oven to 375°F and lightly oil a baking dish that'll hold your four peppers standing upright without them leaning on each other. A nine-by-thirteen-inch dish usually works perfectly.
- Ready those peppers:
- Slice the tops off each pepper like you're giving them a tiny haircut, then reach inside and scoop out all the seeds and white membranes until they're hollow. Stand them cut side up in your baking dish and set aside.
- Build your flavor base:
- Heat the olive oil in a large skillet over medium heat until it shimmers, then add your diced onion and let it soften for about three minutes until it smells sweet. Add the minced garlic and cook for just one more minute, watching so it doesn't brown.
- Combine the filling:
- Stir in the shredded chicken, cooked rice, Italian seasoning, salt, and pepper, mixing everything until it's evenly distributed. This is where you taste and adjust your seasonings because this mixture is your moment to get it right.
- Make it creamy and rich:
- Pour in the heavy cream and add three-quarters of your Parmesan cheese, stirring gently until it comes together into a creamy mixture that coats the back of your spoon. Let it warm through for three to four minutes, then remove from heat.
- Fill those peppers:
- Spoon the creamy chicken mixture evenly into each pepper, filling them right to the top, then sprinkle each one with mozzarella and the remaining Parmesan. The cheese should look a little precarious on top, like it might tumble out.
- Bake covered first:
- Drape the baking dish loosely with foil so the steam can circulate but the peppers won't dry out, then slide it into your preheated oven for twenty-five minutes. You'll start to smell the garlic and cheese mingling, which is a sign everything's happening correctly.
- Finish with golden cheese:
- Remove the foil and bake for another ten to fifteen minutes until the cheese on top turns golden and the pepper skins are tender when you poke them. The whole dish will be bubbling gently around the edges, which is exactly what you want.
- Garnish and serve:
- Sprinkle fresh parsley over the top if you have it, mostly because it looks nice but also because it adds a fresh note that cuts through all that richness. Serve immediately while everything is still warm and the cheese is at its most melty.
 Pin It
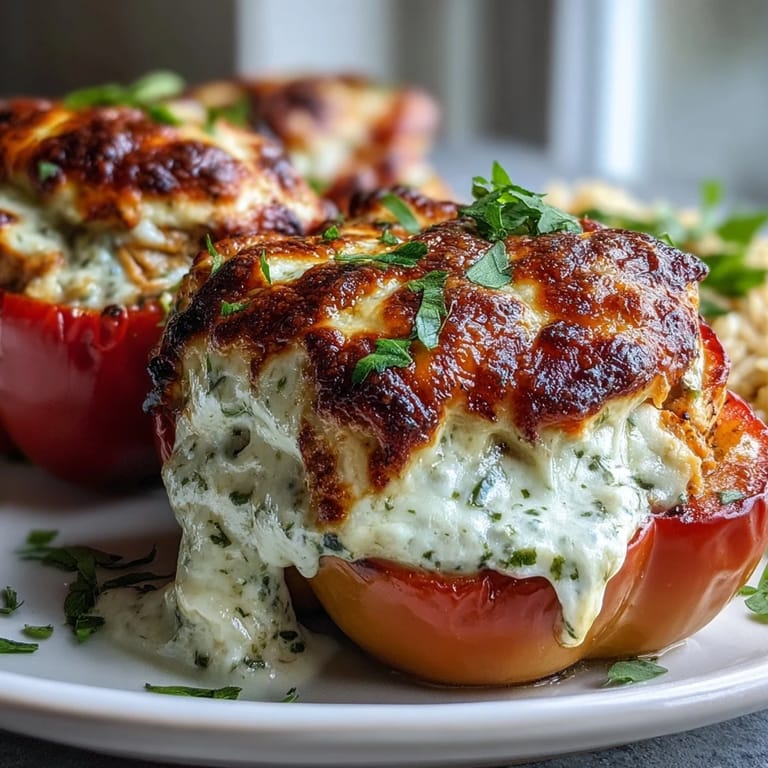
 My nephew asked for thirds that night at my sister's birthday dinner, which for a twelve-year-old who claims he doesn't eat vegetables was basically the highest compliment he could give. Now every time someone asks what to bring to a potluck, this is what I make because it's the kind of dish that feels special without making you spend all day in the kitchen.
Why This Dish Became a Favorite
There's a moment when you're standing over a skillet with the garlic and onion softening in the oil, and the whole kitchen smells like comfort, that you know this recipe is going to work. It's not fussy or temperamental, and it doesn't require any special equipment or techniques you have to look up on your phone halfway through.
Making It Your Own
The beauty of this recipe is that it's flexible enough to accommodate what you have on hand or what you're craving. I've made it with spinach stirred into the filling on nights when I wanted something greener, and I've added sautéed mushrooms when I found myself with a container that needed using up. Sometimes I swap the white rice for brown rice or even a wild rice blend, and the peppers never complain.
Timing and Storage Tips
The actual cooking time is only about an hour from start to finish, which makes this a weeknight dinner that doesn't feel like weeknight food. The filling can be made up to a day ahead and kept in the refrigerator, then spooned into peppers just before baking, which is perfect if you want to do some of the work when you're not already tired from the day.
- Store leftovers in an airtight container in the fridge for up to three days, and they taste even better when the flavors have melded overnight.
- You can assemble the whole dish and refrigerate it unbaked for up to twenty-four hours, then just add five to ten extra minutes to your bake time if it's cold from the fridge.
- These peppers don't freeze particularly well because the texture of the pepper changes, but the filling itself freezes fine if you ever find yourself with extra.
 Pin It
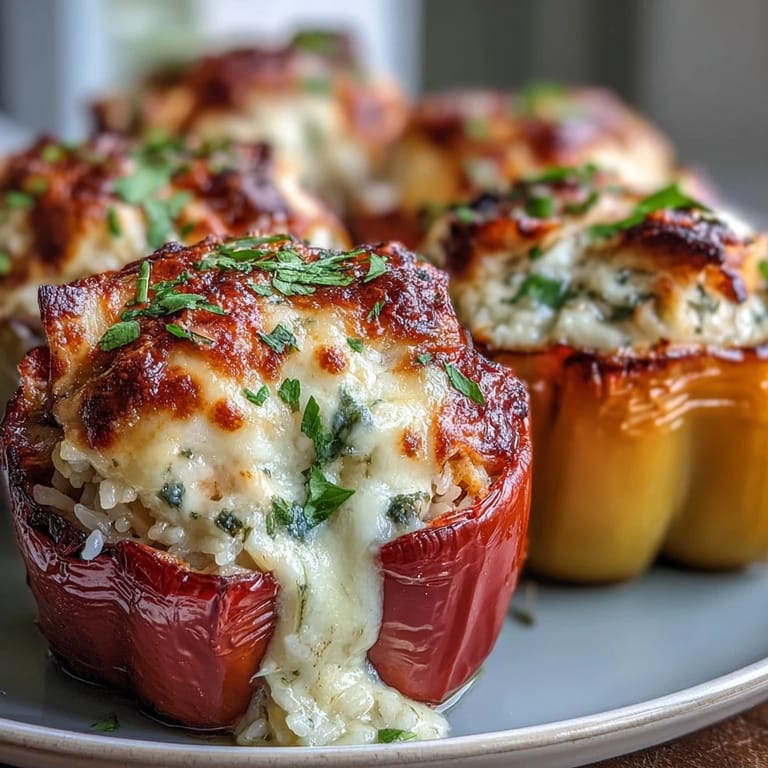
 This is the kind of dish that makes you feel capable in the kitchen, like you've actually accomplished something worth celebrating. Serve it with a simple green salad and maybe some crusty bread to soak up the sauce, and dinner becomes something your people will ask you to make again and again.
Recipe FAQs
- → Can I prepare these stuffed peppers ahead of time?
Yes, you can assemble the peppers up to 24 hours in advance and store them covered in the refrigerator. When ready to bake, add an extra 5-10 minutes to the covered baking time since they'll be cold.
- → What type of chicken works best for this filling?
Rotisserie chicken works beautifully for convenience, or you can use poached, baked, or grilled chicken breasts. Simply shred or dice the meat into bite-sized pieces before mixing with the other ingredients.
- → Can I freeze these stuffed peppers?
Absolutely. Assemble the peppers unbaked and freeze them individually on a baking sheet before transferring to a freezer bag. Bake from frozen, adding about 20 minutes to the baking time and covering with foil for the first 30 minutes.
- → What can I serve with these stuffed peppers?
A crisp green salad with vinaigrette balances the rich filling nicely. Garlic bread, roasted vegetables, or a light soup also make excellent sides. For wine, try a chilled Pinot Grigio or buttery Chardonnay.
- → How do I know when the peppers are done baking?
The peppers are ready when they're tender when pierced with a fork and the cheese on top is golden brown and bubbly. The filling should be hot throughout, and the peppers should hold their shape easily.
- → Can I make this dairy-free?
You can substitute the heavy cream with full-fat coconut milk or a dairy-free cream alternative. Use nutritional yeast or vegan Parmesan-style shreds in place of the cheeses, though the texture and flavor will vary slightly.